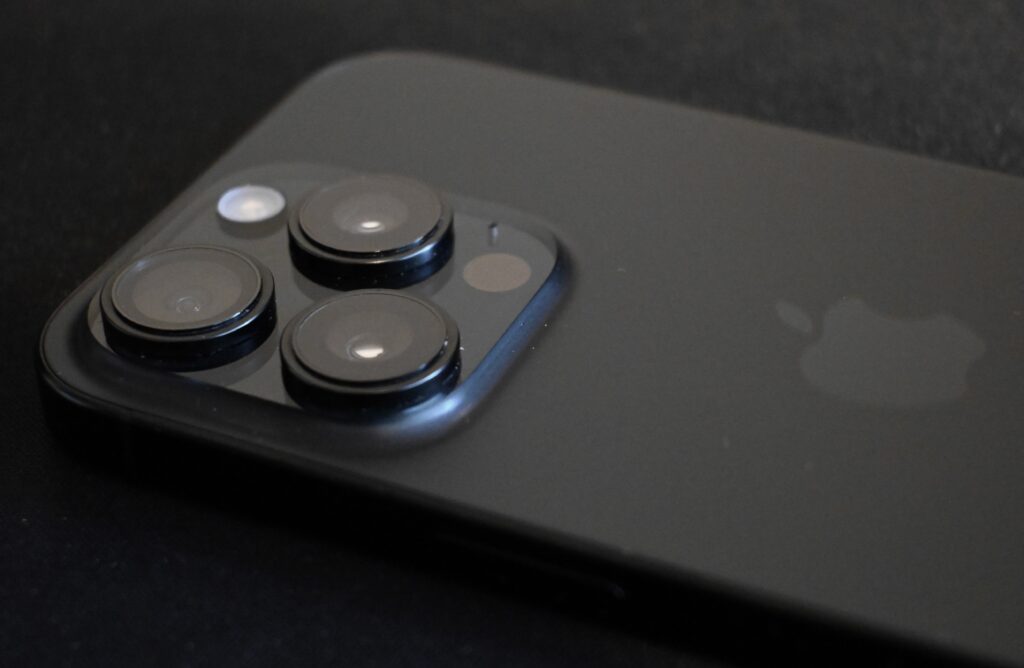
With the ability to take spatial photos and videos on the iPhone 15 Pro and later, you may be looking for a way to view these 3D delights without the wallet-breaking cost of purchasing Apple’s Vision Pro headset.
One alternative you might consider is the Meta Quest 3. But is this a suitable option? Does it actually work? And if it does, how good does your content look?
Why Take Spatial Photos and Videos?
Using photos and videos to capture treasured memories has been a common practice for years. With the advent of smartphones and digital cameras, we’ve been able to store these electronically. As sensor sizes and quality have improved, so has the ability to take high-resolution images. Gone are the days of being limited to 32 shots on a 35mm film roll and paying to develop them. Now, we can take as many as we want. Even better, we can capture high-quality videos!
We are now moving into a new dimension of photo and video: spatial content. But what exactly is a spatial photo or video? Essentially, it’s stereoscopic or 3D. Your device uses two lenses to capture images from each eye’s perspective, creating an immersive, depth-filled effect.
There are various ways to take spatial photos and videos using different types of equipment, but the most accessible option is the iPhone 15 Pro and later. These phones use their camera setup to capture spatial content, which Apple intends to be viewed on the Vision Pro. However, Meta has also added functionality to its Meta Horizons app, allowing users to upload and view spatial videos on the Meta Quest headset.
Spatial Support in the Meta Horizons Application
The Meta Horizons app on iOS now allows you to upload spatial videos directly from your Apple Photos library. Unfortunately, there’s currently no option to upload spatial photos. This is a shame, as both photos and videos serve as valuable ways to preserve memories in a 3D format. While there is a workaround—uploading spatial photos to Facebook and viewing them through the Quest—it’s a cumbersome process.
How Do I Upload?
If you have spatial videos you’d like to upload to your Quest 3, the process is relatively simple:
- Click the main menu button on the right-hand side of the app’s main screen.
- Select “Gallery” from the menu.
- Tap the Upload icon in the top right corner of the gallery page.
- Click “Next” on the following screen.
- Select “Spatial” from the “Select Media” screen.
- Choose the videos you want to upload and tap the “Upload” button.
The app will now process and upload your selected media to your Quest—assuming it’s powered on and connected to the app.
Observations on the Upload Process
I noticed two key issues during the upload process:
- You are limited in the number of media items you can select at one time. Each must be selected manually, so you can’t simply bulk-upload all your spatial videos.
- The upload speed to the headset is not particularly fast.
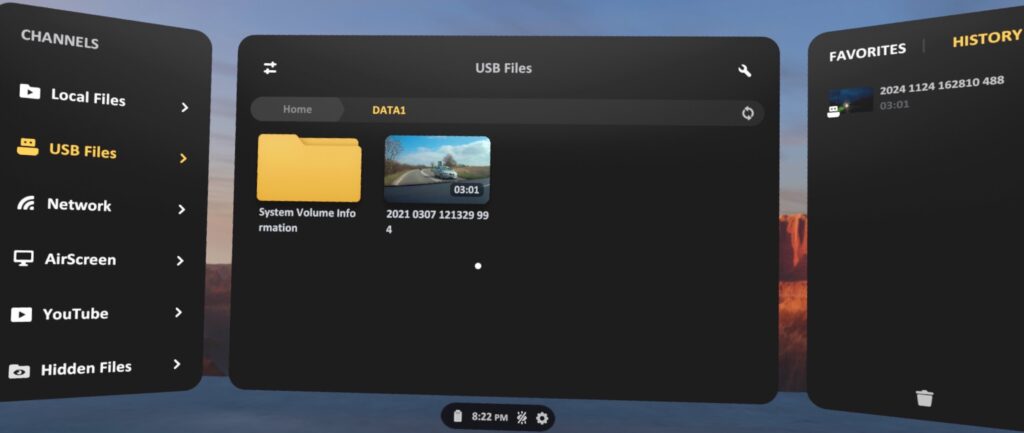
Once uploaded, spatial videos can be accessed via the Gallery app on the Quest or through the Files application.
A Note on Panoramas
On the upload page, you’ll also see an option to upload panoramas from your Apple Photos library to the Quest. Surprisingly, panoramas look quite impressive on the Quest, wrapping around you in a 180-degree immersive view. Previously, I didn’t see much value in taking panoramas on my phone, but now they offer exciting new possibilities. I’ve also enjoyed revisiting old panoramas from past travels, as they provide an immersive perspective of different places.
What Do Spatial Videos Look Like on Quest 3?
The big question: is viewing spatial videos on the Quest worth the effort?
The iPhone records spatial videos in 1080p, which is significantly lower in quality than standard 2D videos recorded in 4K. However, the results still look good on the Quest. The video appears in a small floating window within your field of vision, and the depth effect varies depending on the content. Foreground elements, like objects on a desk or pets running toward the camera, showcase depth beautifully, while landscapes tend to have less noticeable depth.
Are There Alternatives to the iPhone for Spatial Capture?
Yes! There are several spatial/3D cameras available, with varying price points.
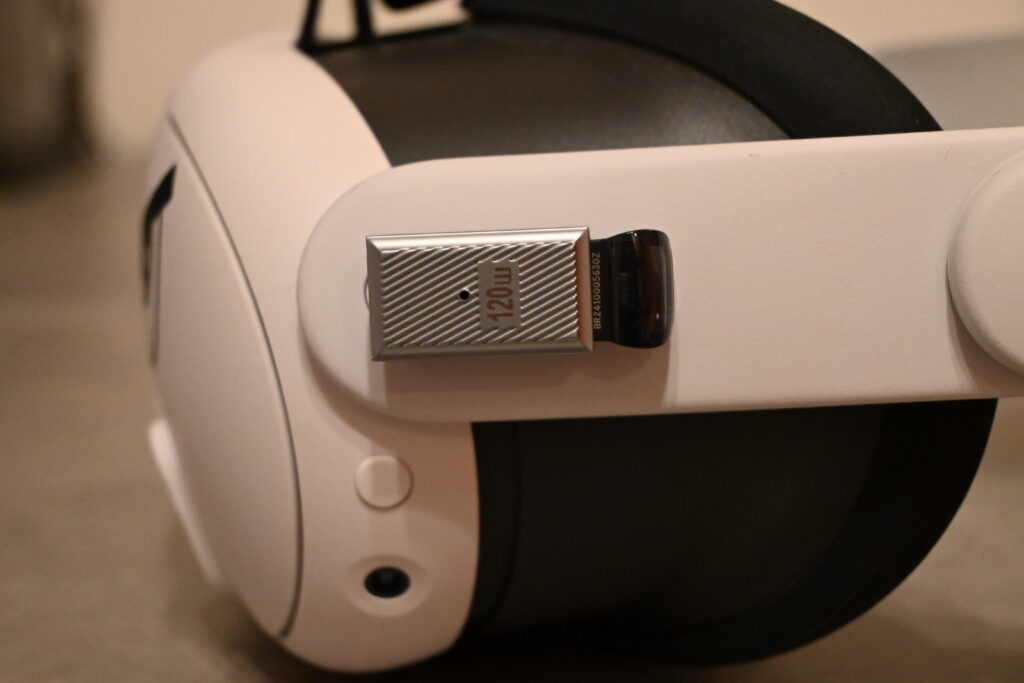
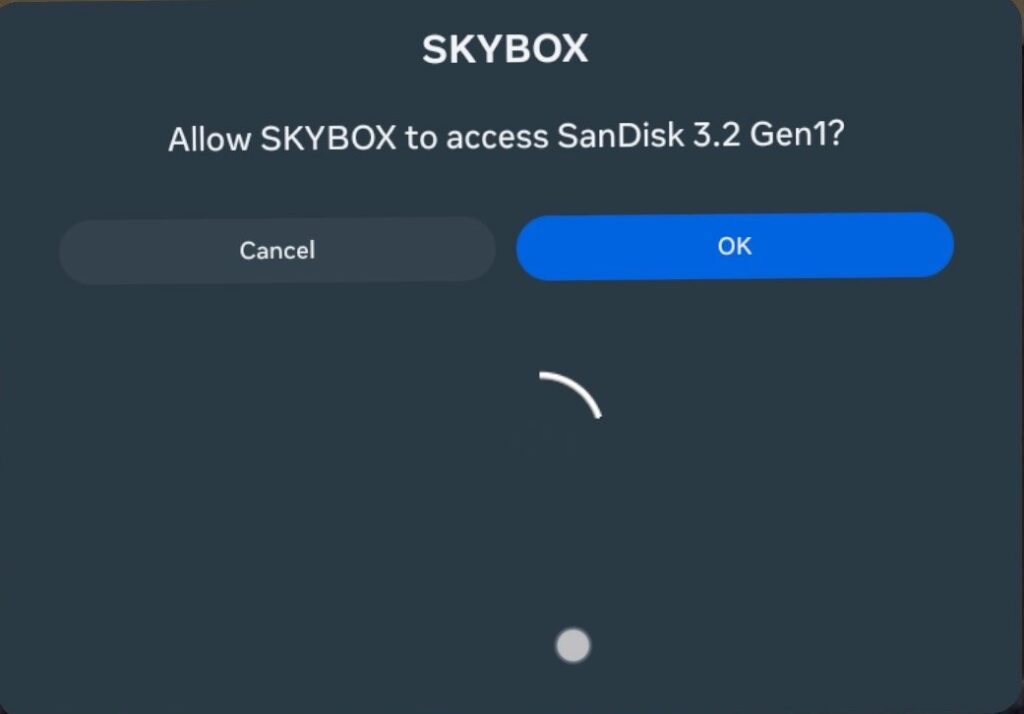
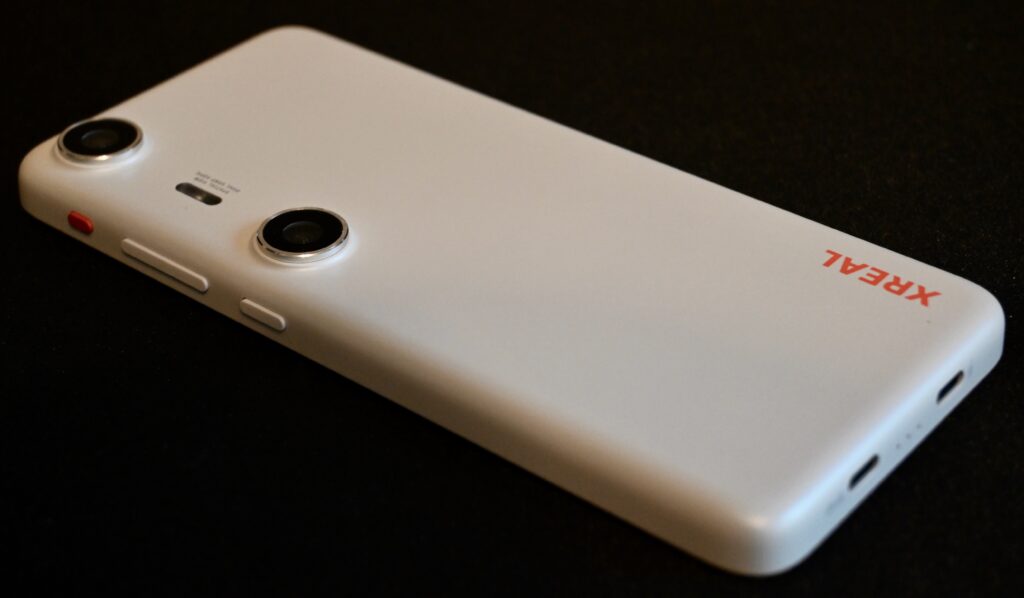
I’ve personally tested the XREAL Beam Pro, an unusual Android-based device designed to pair with XREAL glasses. Using the built-in camera app, I was able to capture spatial videos and photos. These can be exported from Google Photos and uploaded to the Quest 3 as image files. One advantage of this setup is the ability to store content on external media and access it via an app like SkyBox VR.
For more details on external Quest 3 storage, check out my [post on Quest 3 storage solutions] (shameless self-promotion, I know!).
If you have an XREAL Beam Pro, you likely own the XREAL glasses as well, making them a more seamless solution for viewing spatial content than the Quest 3.
Conclusion
Is it worth using the Quest 3 to view spatial videos and photos taken with the iPhone?
First, the inability to transfer spatial photos is a significant limitation, and it would be a small but valuable addition to the Meta Horizons app. Whether Meta will ever implement this remains uncertain.
Second, the upload process for spatial videos is clunky and restrictive, allowing only a few videos to be transferred at a time. This makes it impractical for frequent use, which is unfortunate because I genuinely believe spatial media is the future of memory preservation. I’d love to take more spatial videos and photos with my iPhone, but the current Quest 3 workflow is too cumbersome for anything beyond an occasional novelty.
For more serious spatial content capture and viewing, the XREAL Beam Pro + XREAL glasses currently outperform the iPhone + Meta Quest 3 setup.
What do you think? Is spatial photo and video the future of capturing your precious family and holiday memories? Let me know in the comments below!